
Installation Guide
Transform your garage in just a few hours. No tools, no mess, no professional help needed.
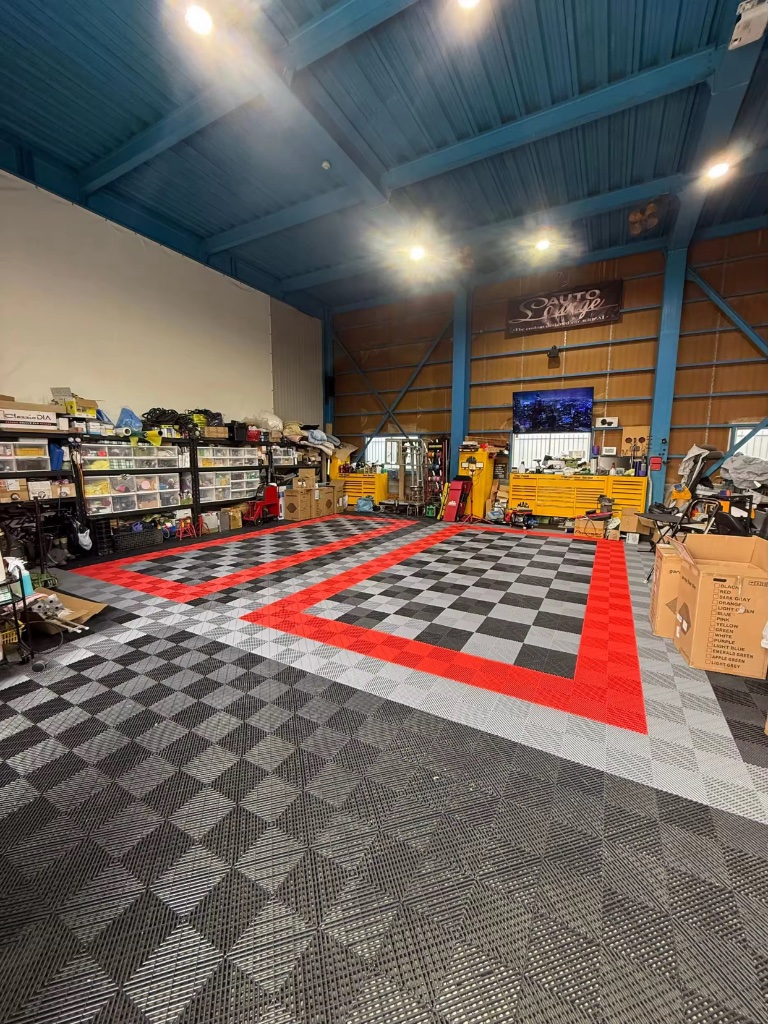
4-6 Hours
Average installation time for 400 sq ft
1-2 People
Can be done solo or with a helper
Basic Tool Requirements
Measure, Cut (if necessary), Snap-In....repeat
What You'll Need
Simple tools you probably already have
Saw (Jig saw, Chop saw, Table saw or Grinder)
For trimming tiles to fit around walls and obstacles
Tape Measure
To measure your space accurately
Chalk Line or Straight Edge
For planning your layout
Rubber Mallet
Helps secure connections (optional but recommended)
Broom or Shop Vacuum
Clean floor before installation
Step-by-Step Installation
Follow these simple steps for a perfect installation
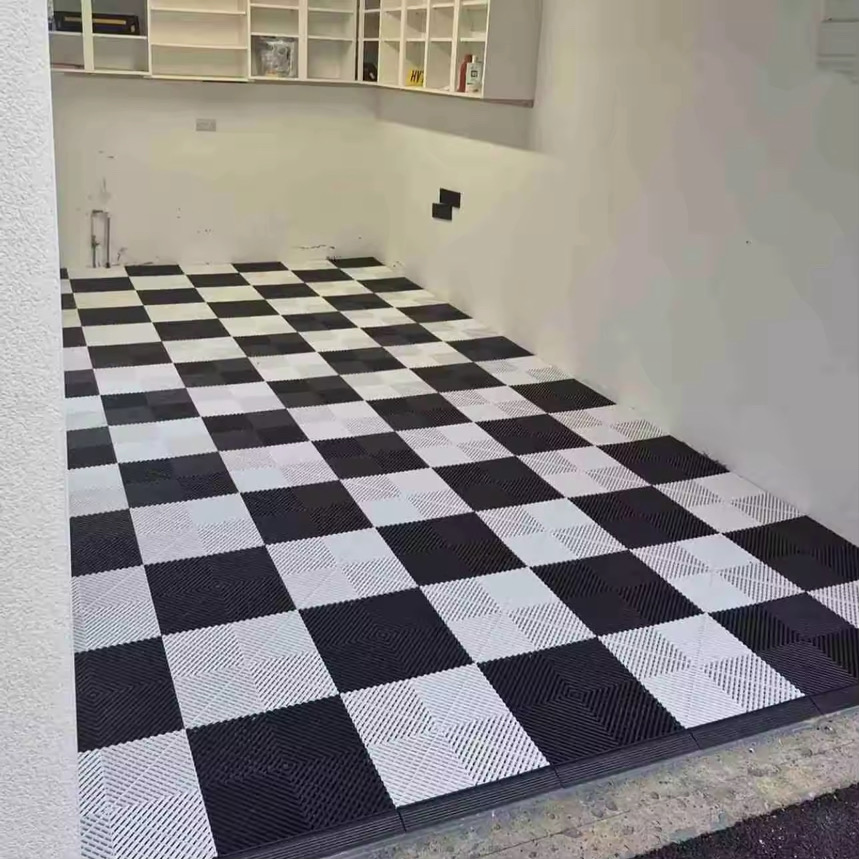
Prepare Your Space
Proper preparation ensures a smooth installation
- Clear the entire garage of vehicles, tools, and storage items
- Sweep and clean the floor thoroughly - remove all dirt, dust, and debris
- Check for any major cracks or uneven areas (minor imperfections are fine)
- Ensure floor is completely dry before starting
- If desired, repair any significant cracks with concrete filler and allow to cure
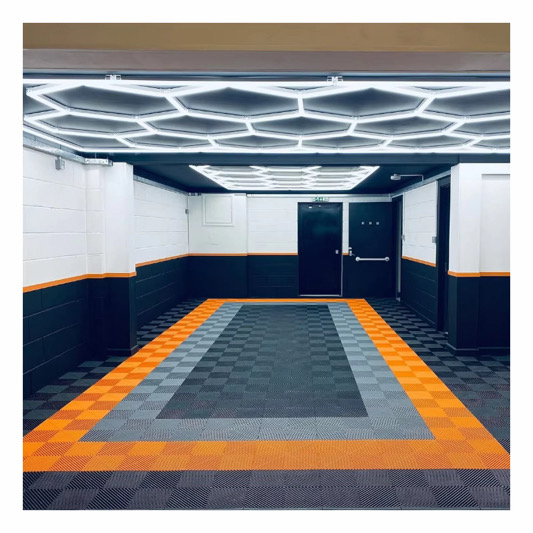
Plan Your Layout
Strategic planning saves time and materials
- Measure your garage dimensions carefully
- Decide which direction tiles will run (typically length-wise looks best)
- Find the center point of your garage
- Use a chalk line to mark your starting point and guide lines
- Dry-lay a few rows without connecting to visualize the pattern
- Plan where colors will go if using multiple colors
- Determine where cuts will be needed around walls and obstacles
- Installer TIP! - If using edges, make sure your male/female edges are compatible with the correct side of the tile where the edge will be located.
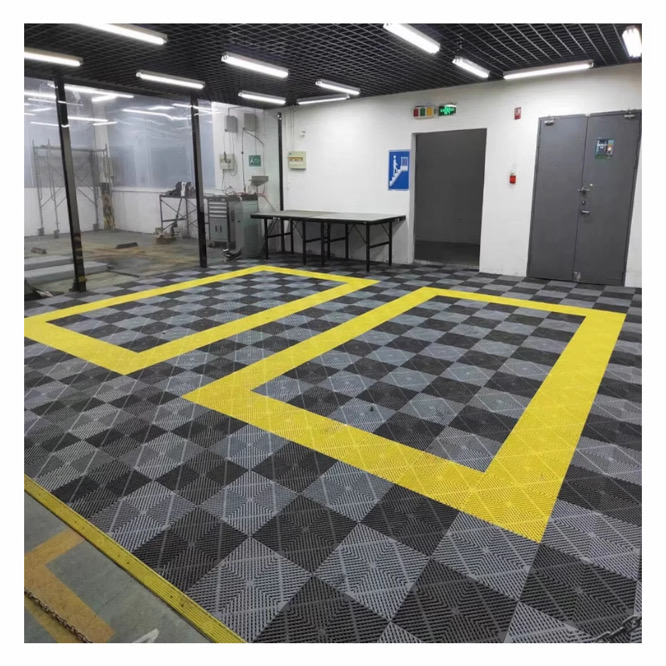
Start Installation
Begin laying tiles from your planned starting point
- Start with female edge pieces along your starting wall
- Place the first full tile in your corner, connecting to edge pieces
- Connect tiles by inserting tabs into loops at a slight angle, then pressing down
- You'll hear/feel a satisfying 'click' when properly connected
- Work row by row, ensuring each tile is fully seated before moving on
- Tap gently with a rubber mallet if needed to ensure connections
- Stagger joints like a brick pattern for maximum strength
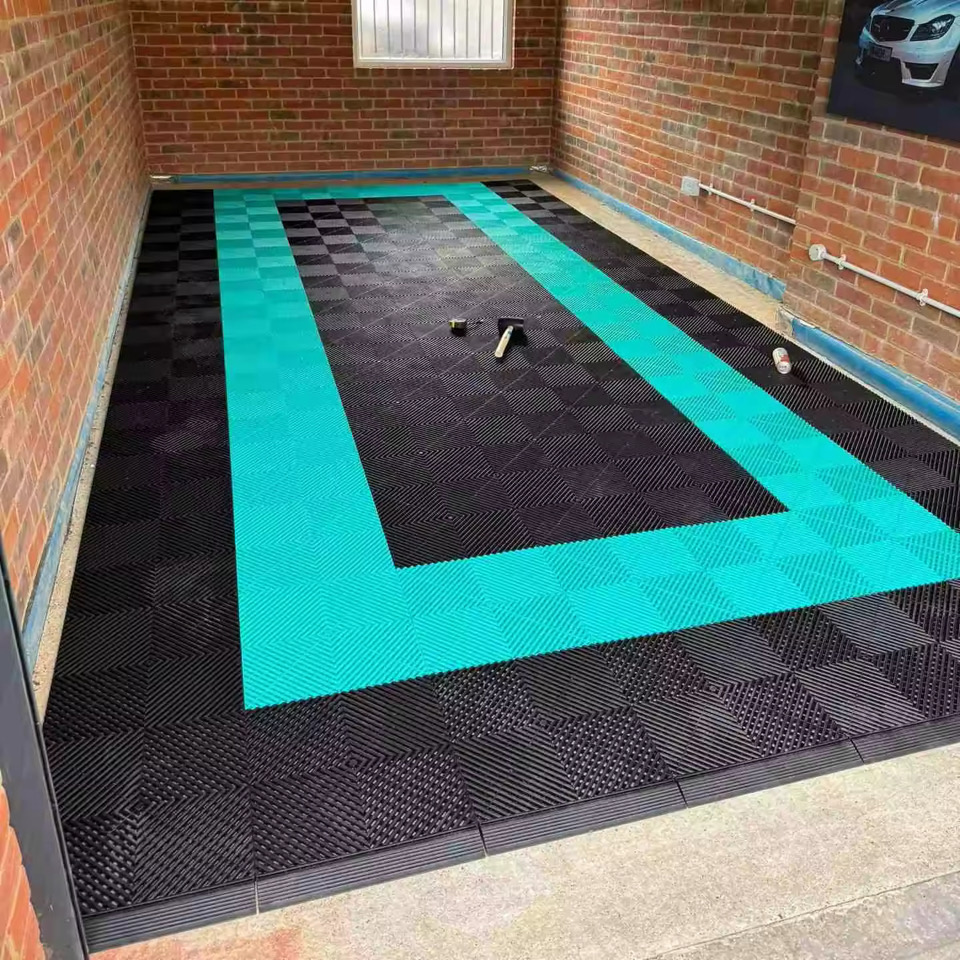
Cut Tiles to Fit
Trim tiles around walls and obstacles
- Measure the gap between your last full tile and the wall
- Mark the tile with a marker or chalk where you need to cut
- Use a sharp utility knife to score the tile deeply
- Snap the tile along the scored line, or use scissors for detailed cuts
- For complex shapes, create a cardboard template first
- Trim tabs/loops on edge pieces as needed
- Test fit before making final cuts
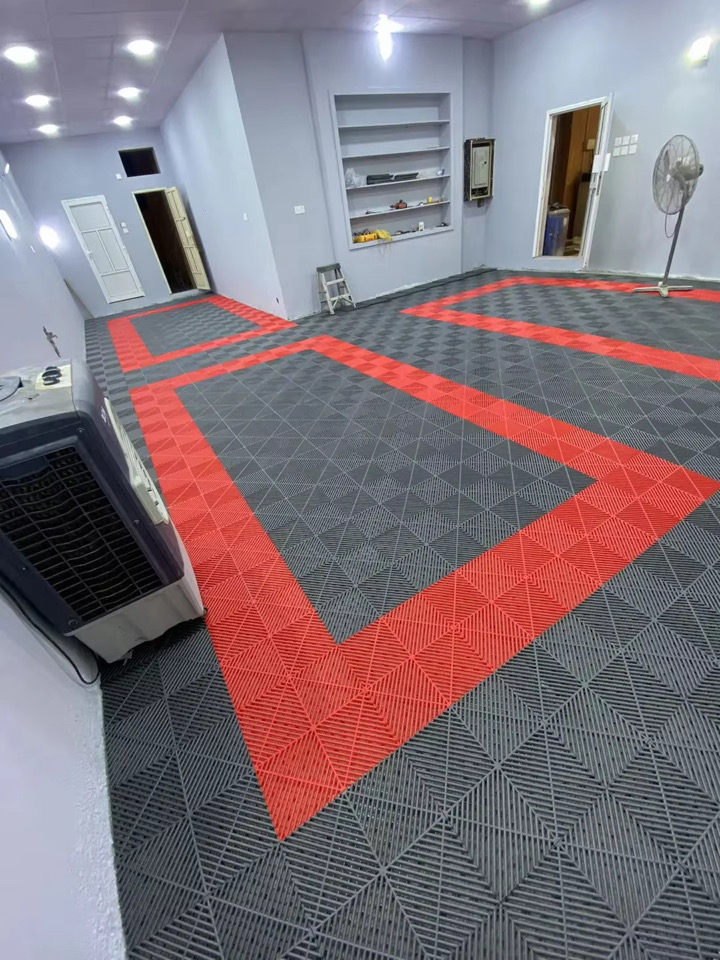
Install Edge Pieces
Complete the professional look with edge pieces
- Attach female edges along walls without connecting tabs
- Attach male edges on the opposite walls
- Press edges firmly into place against the tiles
- Install corner pieces at each corner for a finished look
- Trim edge pieces to length as needed with utility knife
- Ensure all edges are flush and properly seated
Final Inspection & Cleanup
Complete your installation with finishing touches
- Walk the entire floor checking all connections
- Press down any tiles that seem loose
- Sweep or vacuum the new floor
- Check that all edges are properly installed
- Remove any protective film if present on tiles
- Stand back and admire your work!
Popular Pattern Ideas
Get inspired by these professional designs
Checkerboard Pattern
Classic alternating design that never goes out of style
Racing Stripes
Bold horizontal stripes for a dynamic look
Accent Strip
Add a pop of color with strategic accent strips
Installation Questions?
Common questions about the installation process
Need Installation Help?
Our expert team is here to guide you through every step